Modifying PostNuke
As well as
managing content from HTML forms (adding a Story for example), we can also use
PostNuke to manage other files such as programs, documents, audio, etc.
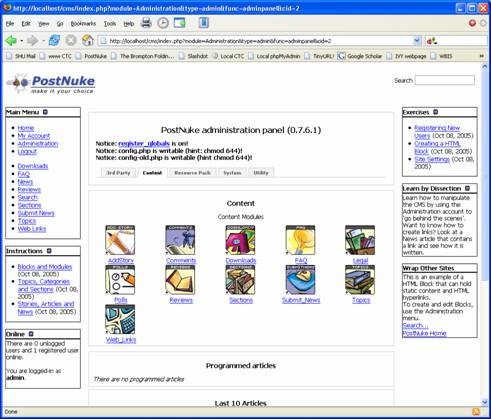
If you
click on Downloads from the Main
Menu, then Tools in the centre column,
you should see this:

If you
click on the title of the download, the browser opens a pop-up window and asks
you what you want to do with the file. This is quite a useful feature, so we
shall see how we can add downloads to the CMS.
For the
next bit you need to be logged in as an Administrator.
- Go to Administration and select the Content tab.
![]()
- Click on Downloads.
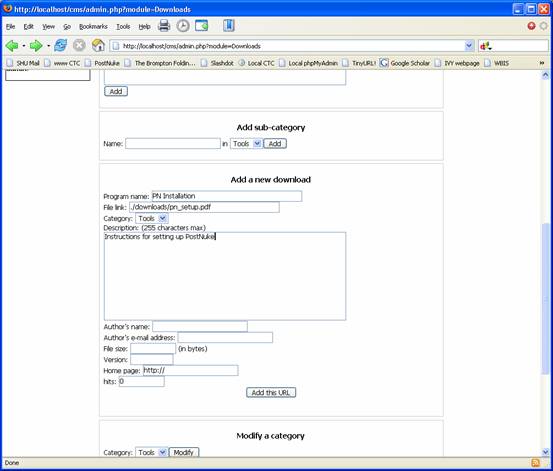
- Scroll down the screen until
you see Add a new download.
- Now we need to add something.
Go into Windows Explorer or use ‘My Computer’ to navigate to the root of
your installation of PostNuke. It will look something like:
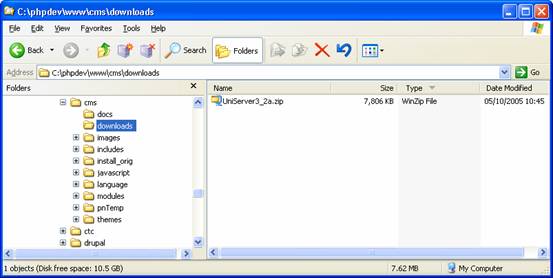
Remember to substitute your own path for the relevant
homespace. In the Downloads directory there is the portable web server
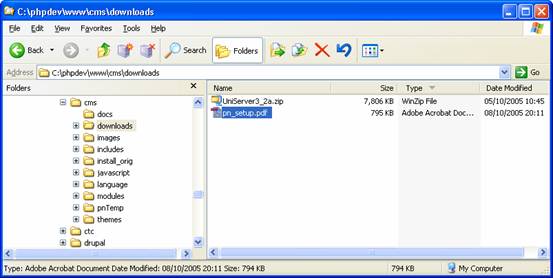
installation zip file. We shall now add a file to this download folder.
- Go back to the Downloads form
and complete the form. Notice that the file link field will require an address that is recognised by
the web server. We also want to use good practice and make the link to the
file relative so that we can
move the CMS to another folder in the future, without having to update
every file link.
Remember that a content management system will probably
contain lots of files, and changing all of the links could be a massive
maintenance task.
- Type the following into the
field:
./downloads/yourfile
In the example above, the file link would be:
./downloads/pn_setup.pdf
- Once completed your form will
look like:
- Click the ‘Add this URL’ button and click on the Downloads link in the main menu. Select Tools and…
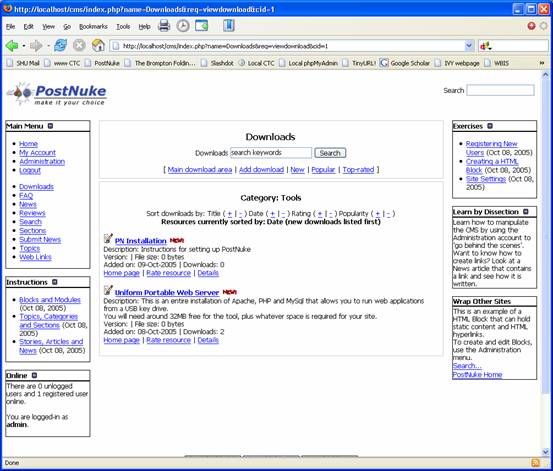
- Test your download link.
This is OK,
but the whole process assumes that the file to be made available is either
already on the web server, or that it will be transferred across by FTP.
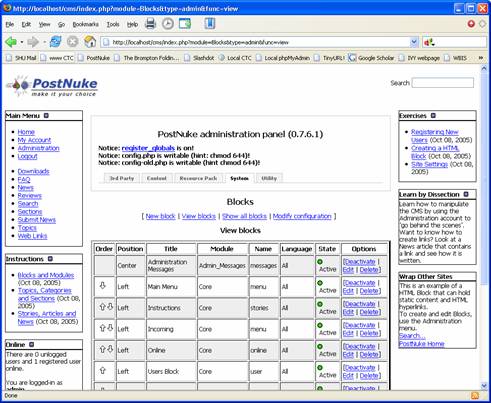
It is
possible to extend the functionality of PostNuke by adding new modules.
If you go
to Administration, 3rd Party you will see extra
modules added to the basic installation.
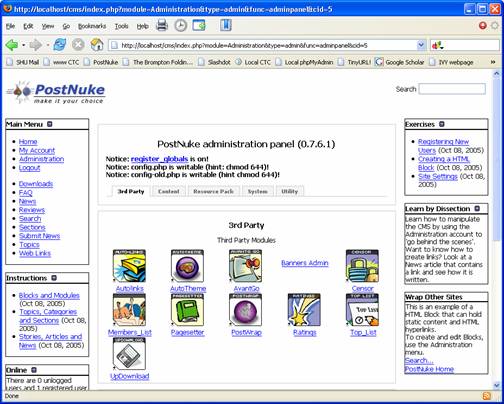
One such
module is called UpDownload. This
has been added to the zip file already, but it isn’t normally included with the
standard PostNuke installation.
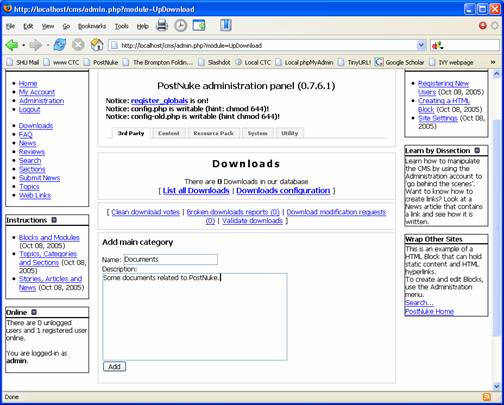
- Click on the UpDownload icon. Create a main
category like this:
- Now add a download. It’s much
easier isn’t it?
- Test your download link.
 But where is the new file that you
have added?
But where is the new file that you
have added?
We need to
do a bit of detective work.
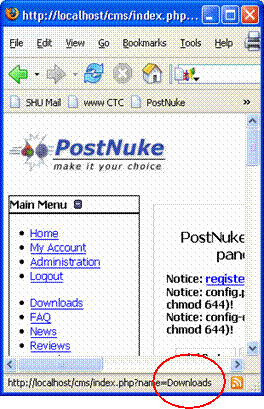
If we look
at the Main Menu block, and rest the mouse pointer over the Downloads link, we can see in the
bottom part of the browser the URL that the link is pointing to.
In this
case we see that it is pointing to ‘Downloads’.
This link
refers to the original module that we used to add a file to the CMS.
We want the
link to refer to the new module ‘UpDownload’
as this module is easier to use.
- Go to Administration, System,
Blocks.
![]()
- Click edit on the Main Menu
item.
- Scroll down and change the Downloads
link from:
[Downloads] to [UpDownload]
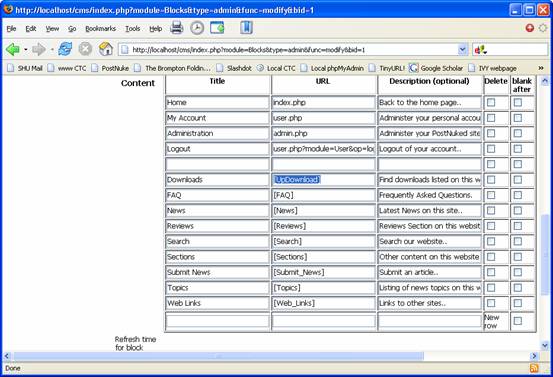
- Click on the Update button.
- Test the link.
Put Your Learning to Test
Create some
categories and sub-categories in the downloads section relating to the
following:
- Module Title
-
Module Schedule
-
Individual Coursework
-
Group Coursework
- Exam notes
Upload some
files to each of the categories. Test the download links in your browser.
Now see if
you can create some new options in the Main
Menu block that link directly to a particular item such as a module
schedule for instance.