PostNuke Content Management System
Setup
- Before you start you need to make sure you are
ready for installing open source. Check
it out.
- PostNuke CMS uses MySQL as the back-end
database. If you do not have a
MySQL account, create
it now.
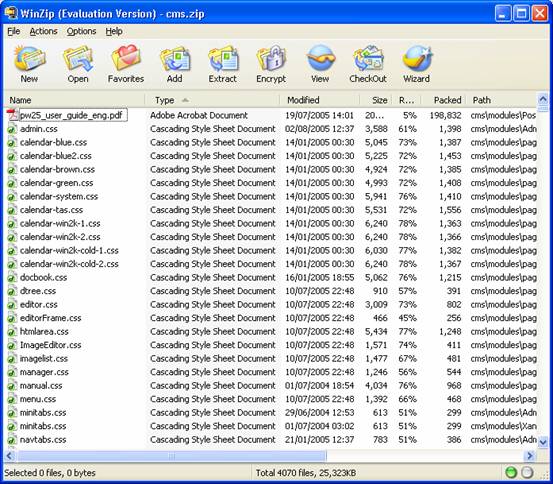
- Download
PostNuke Content Management System from module Blackboard site. You will find it under "Group
Assignment".
- Using the zip archive, extract the files into
the root of a directory in your homespace.
- In the example below, the homespace is:
C:\phpdev\www\
Your
homespace will be something like:
F:\public_html
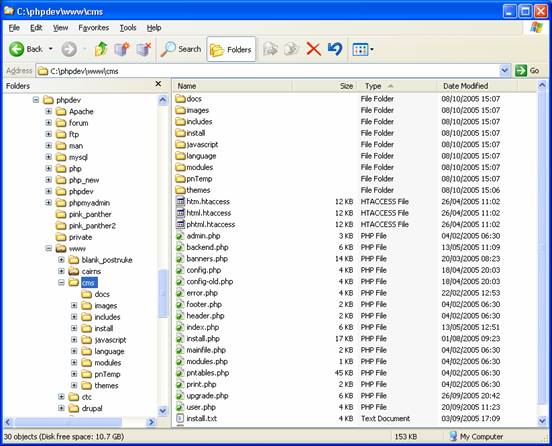
Once
the zipfile is extracted, a directory called 'ebiz' is created and the new
files are put in there.
When
we refer to ‘homespace’ you should
substitute the path to your own homespace, such as F:\public_html etc.
- Go to your browser and enter the public URL of
your site. This might be something like:
http://homepages.shu.ac.uk/~cmsrh1
You
should see this:
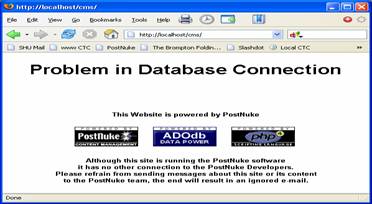
This
is OK, and confirms that the files have been put in the correct place. Off course we have not yet connected the CMS
to the back-end database and hence the message.
- Now we need to sort out the backend database
that the CMS will use.
Locate
the file ‘config.php’ in the root of
your installation.

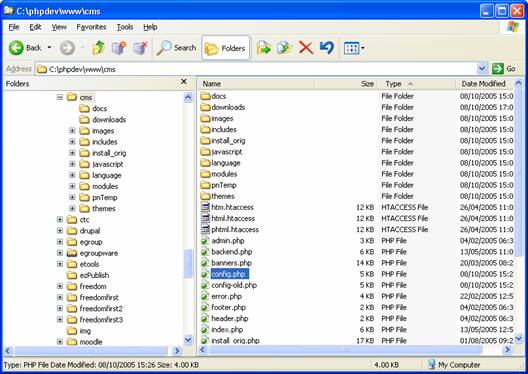
- Open this file with a text editor such as Notepad or Textpad. Switch on line numbers. Around line 49 onwards we
need to edit the file to reflect the host and database settings.
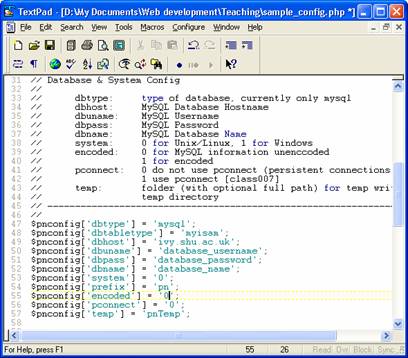
- Complete the dbhost, dbuname, dbpass and dbname fields. You must
use the details that you received in the email from the MySQL registration.
- Next we need to set some file access
permissions. Open up Start, All
Programs, Specialist Applications, Connect to Unix, Secure Shell. Log
in to Unix using "ivy.shu.ac.uk" for host and your normal
network username and password.
- Navigate to your directory for the download!
Crash
course in Unix:
|
ls |
list contents of a
directory (folder) |
|
ls -l |
list contents of a
directory (folder) with details |
|
cd |
change directory |
|
cd .. |
change directory upwards
(parent directory) |
|
chmod |
change permissions (more
below) |
You
will need to look at the directory structure in your homespace so that you can
see where the files are.
Open
up a window and go to your homespace
(probably F:/public_html).
Look
at the directory names in the Secure Shell command prompt.
You
should see a directory name that matches the name of your homespace. So if your
homespace is F:/public_html then you should see F:/public_html in the
Secure Shell.
You
will locate the following files in the directory you have installed
PostNuke. For example "wbis"
or "ebiz".
- Using chmod,
change the permissions of the files/folders below:
![]() config.php
666 – type: chmod 666 config.php
config.php
666 – type: chmod 666 config.php
![]() config-old.php
666 – type: chmod 666 config-old.php
config-old.php
666 – type: chmod 666 config-old.php
Change directory to "pnTemp"
![]() pnRender_compiled
777– type: chmod 777 pnRender_compiled
pnRender_compiled
777– type: chmod 777 pnRender_compiled
![]() pnRender_cache
777– type: chmod 777 pnRender_cache
pnRender_cache
777– type: chmod 777 pnRender_cache
![]() Xanthia_compiled
777– type: chmod 777 Xanthia_compiled
Xanthia_compiled
777– type: chmod 777 Xanthia_compiled
![]() Xanthia_cache
777– type: chmod 777 Xanthia_cache
Xanthia_cache
777– type: chmod 777 Xanthia_cache
![]() Xanthia_Config
777– type: chmod 777 Xanthia_Config
Xanthia_Config
777– type: chmod 777 Xanthia_Config
- Now we need to upload the database structure
into the database.
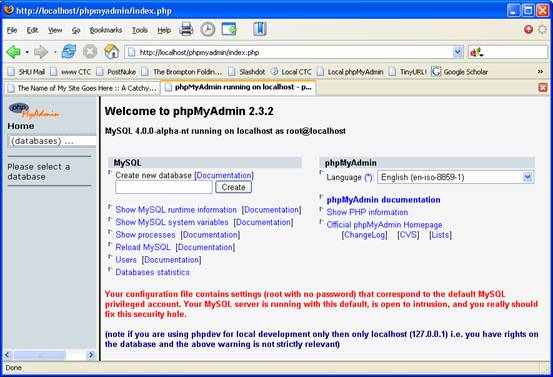
- Access PHPMyadmin at http://homepages.shu.ac.uk/mysql/.
You should see a login page and once you have logged in a page something
like (depending on the version installed):
- In the left hand frame, click on the database
drop-down box. Select the database "your username_db1". Do not use
"information_schema" database.

- Select the SQL
tab.
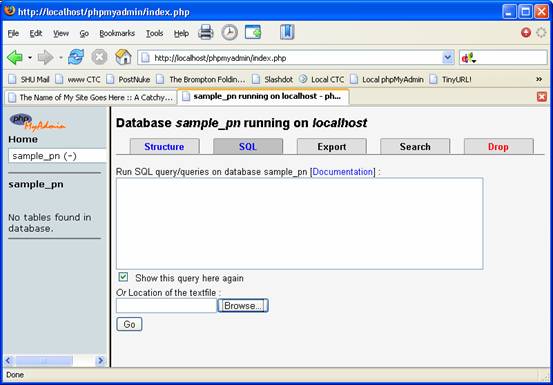
- Click on
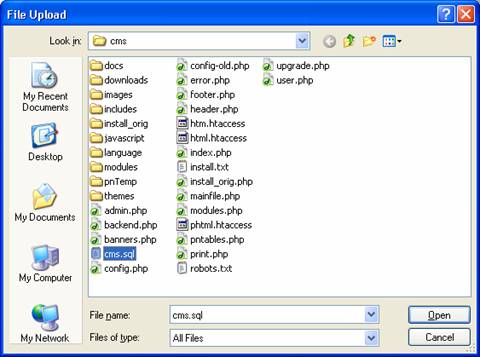
the Browse button.
- Select the ‘.sql’ file to upload. This will be
called ‘ebiz_cms.sql’.
Click "Go"
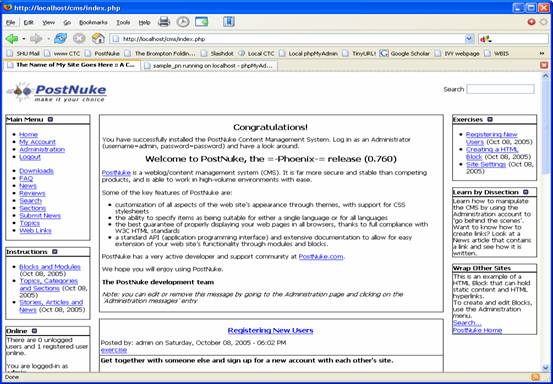
- Once the
file has been uploaded, go back to the browser and try your public URL
again. You should see a welcome screen that looks similar to this (the
colours and layout might be a little different):