Configuring the online shop in osCommerce 1
Having installed osCommerce, the first thing we have to do is to configure your shop.
- Go to: http://homepages.shu.ac.uk/~your_username/shop/catalog/admin/ and login using your administration details.
- Click on 'My Store'

- You can configure your shop by entering your information in the store profile. With the title highlighted, click to edit and finish by clicking update. Continue until you have entered all your required information.

- There maybe minimum or maximum values to the information that you expect your customers to input. For example at least 2 characters for first name or last name and a maximum of 5 entries that your customer is allowed for address. Further examples maybe the size of images in terms of number of pixels, etc. These are set through 'Minimum Values', 'Maximum Values'' and 'Images' links. You get the idea. Continue down the list.

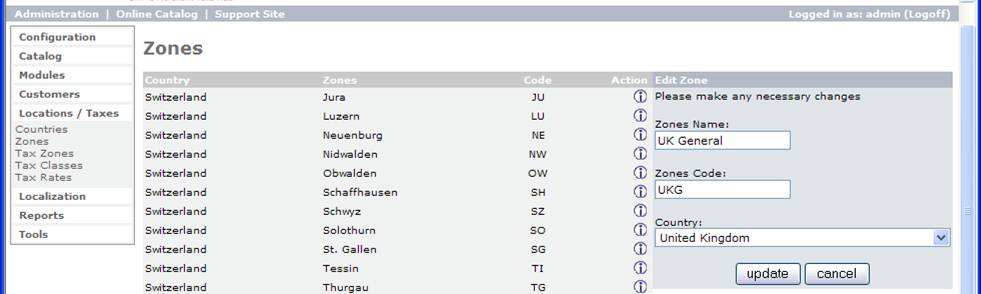
- Under 'Location/Taxes' go into 'Zones' and add a new zone.
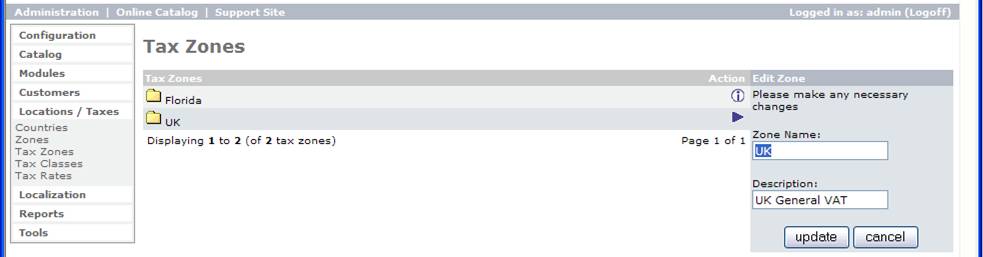
- Go into 'Tax Zones' and add a new Tax Zone.
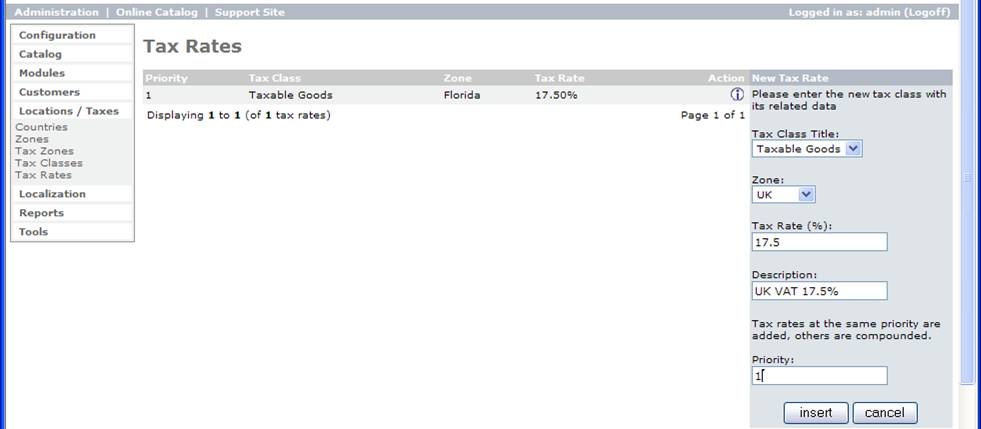
- Go into 'Tax Rates' and add a new Tax Rate for VAT in the UK.
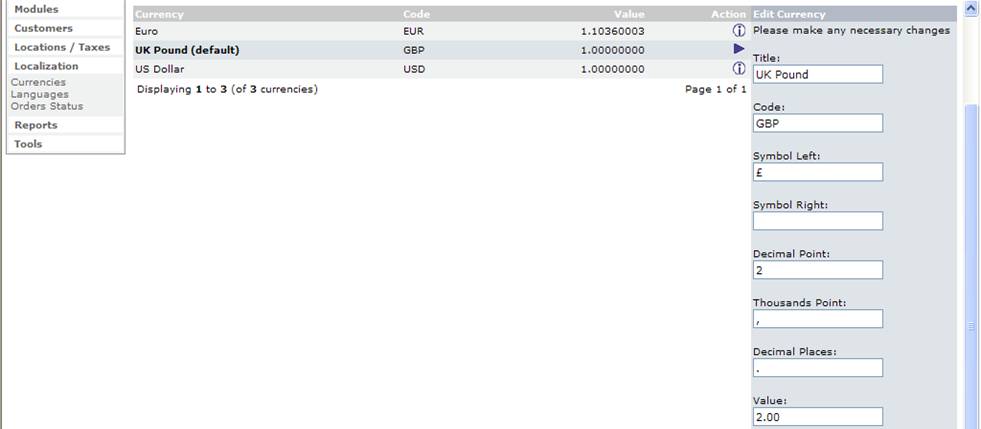
- Under 'Localization' go into 'Currencies' and add a new currency for UK Pound and set it as default. Note that value is relative to default currency and default currency in osCommerce is USD.
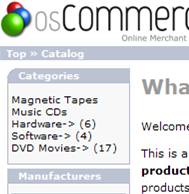
- In osCommerce you can set categories for your products. Click on 'Catalog' and you will see that your installation has already shopped with three product categories. Add a new category. Note that you are allowed to provide name for category in different languages if you intend to market your product to different communities in different languages. You can upload an image for the category too which will be displayed next to category name when your customer points to it. You could also specify where in the list of categories you want to display the category - use '0' for top of the page. Note the error at the top of the page indicating that 'images' director is not writeable.

Note that the new category is added to your shop.
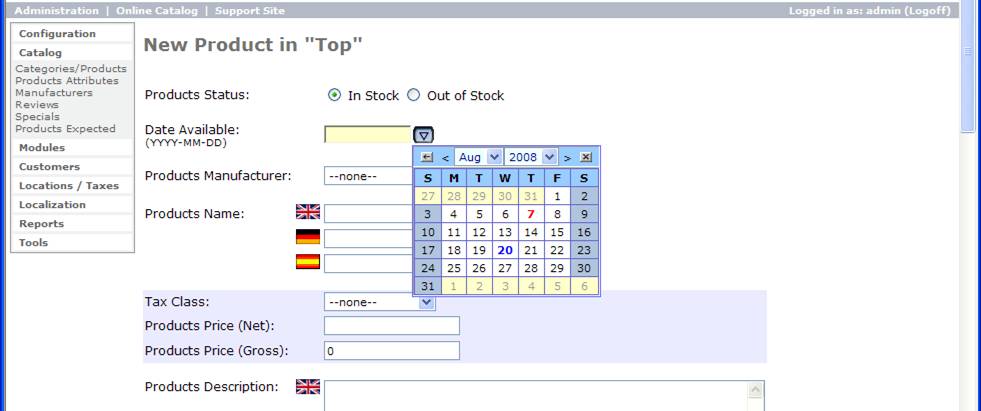
- Having added all the possible categories, you can add products to your shop and choose to add these products to categories. In 'Admin' and still in 'Categories/Products', highlight a category and add a product to the category. You can specify whether or not product is in stock, date it will become available, manufacturer of product provided you have already added the manufacturer to the list, whether or not the product is subject to tax, price free of tax and this updates price including tax (note that you should have set up the tax regime when you configured your shop), a description for the product, etc. Other important details that you need to add are quantity, upload image for the product or alternatively specify a URL, and product weight which is important if you are going to calculate shipping cost based on weight.
- Looking at our online catalog we can see the product listed

Note that product loads up on catalog page as well as the category page to which it belongs. Also note that osCommerce creates a thumbnail of the image which if clicked a larger size of the image is displayed.
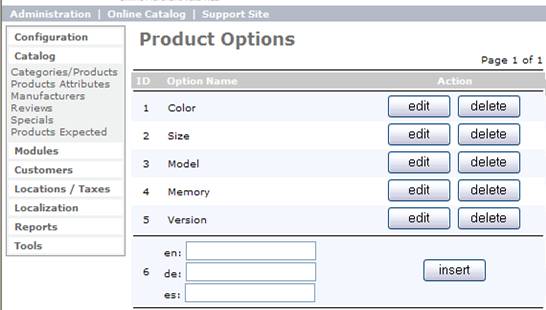
- Each product has a number of attributes. OsCommerce allows you to define attributes for the products. Attributes are referred to as options. Click on 'Products / Attributes'. You will see that there are a number of options that are already defined. You can define new attributes using the 'insert' button.
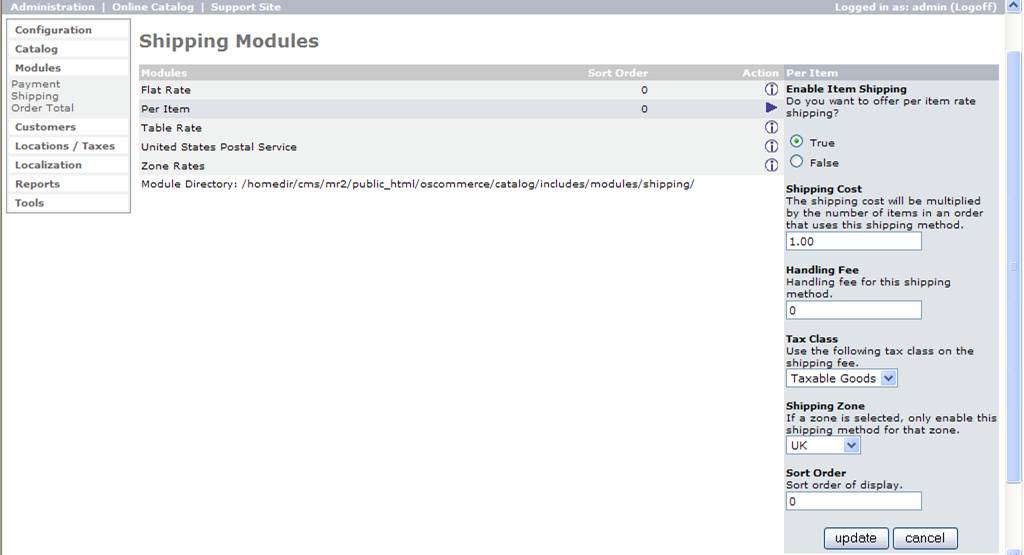
- There are a number of ways for calculating shipping cost in osCommerce. Considerations maybe the product you are selling or what works best for your business. In the configuration panel under 'Modules' click on 'Shipping'. You may want to charge shipping per item. If so highlight 'Per Item' and click on 'Install' and then 'Edit' to configure your values.